Common PPF Installation Mistakes to Avoid for Car Owners
When it comes to safeguarding your vehicle's paint, applying Paint Protection Film (PPF) might seem like a straightforward task. However, many car owners tend to overlook the fact that PPF installation is a complex process, involving numerous potential pitfalls that can result in less than ideal outcomes.
With so much at stake—like preserving your car's shiny finish and fighting off chips—understanding the common mistakes made during this process becomes crucial. From improper surface preparation to misalignment of the film, the array of blunders can significantly affect how well your PPF performs. Let's dive into these common errors and explore how to avoid them, ensuring your investment lasts longer and looks great.
Misaligning the Film with the Car Surface
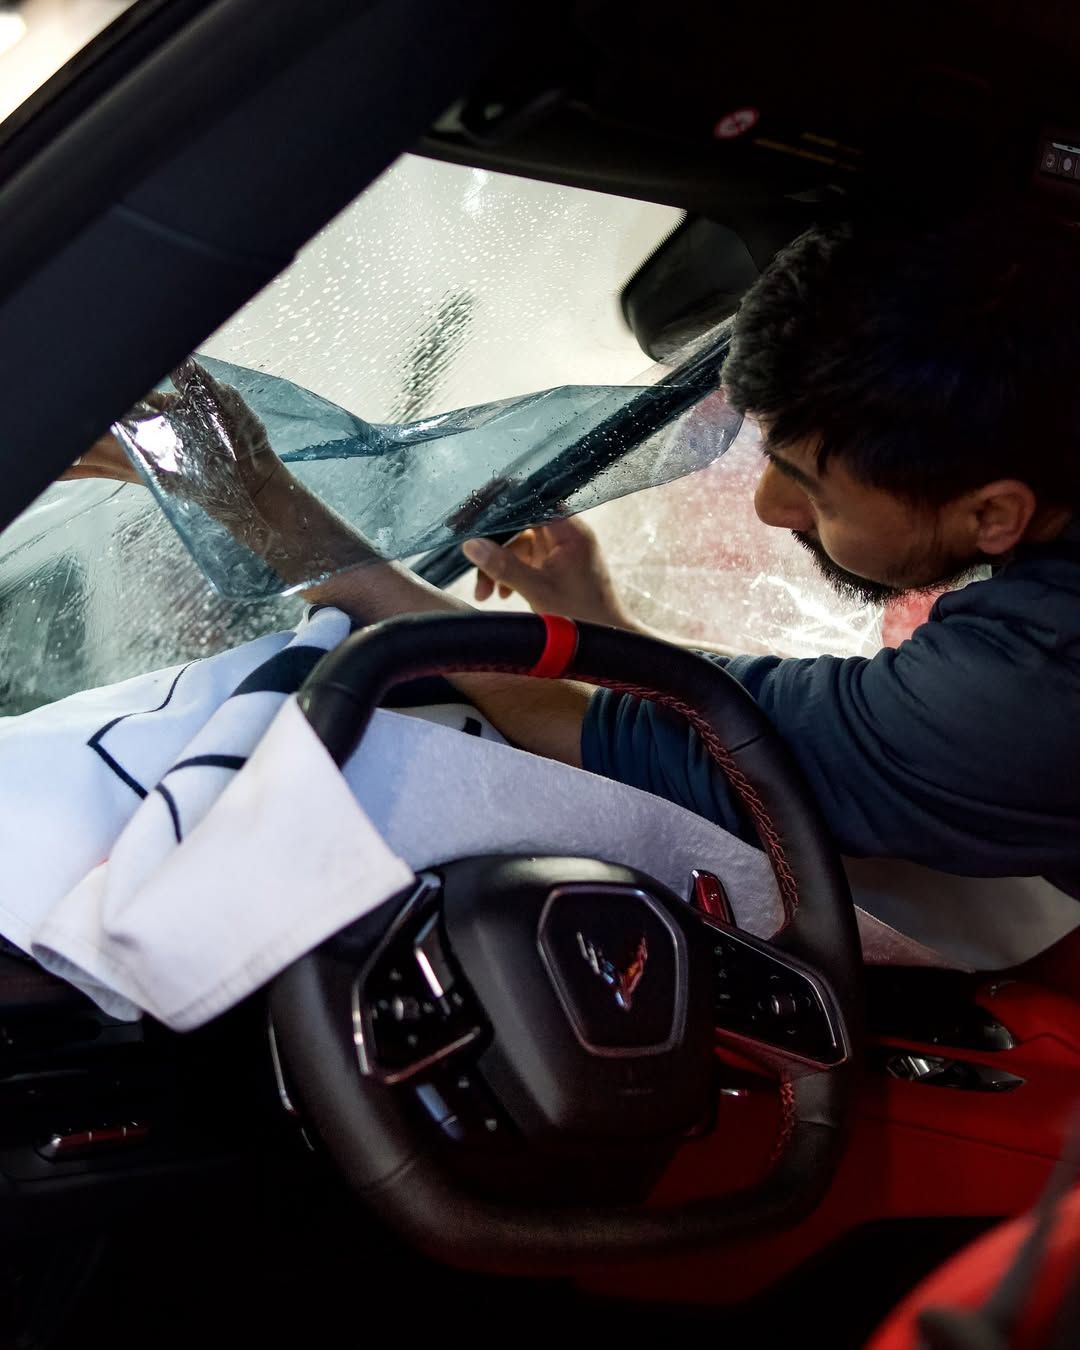
When it comes to applying Paint Protection Film (PPF), precision isn't just desirable; it's critical. Even a minor misalignment during installation can create gaps that negate the protective benefits of the film. This means your car’s paint could remain vulnerable to chips and other damage, which is exactly what you’re trying to prevent in the first place.
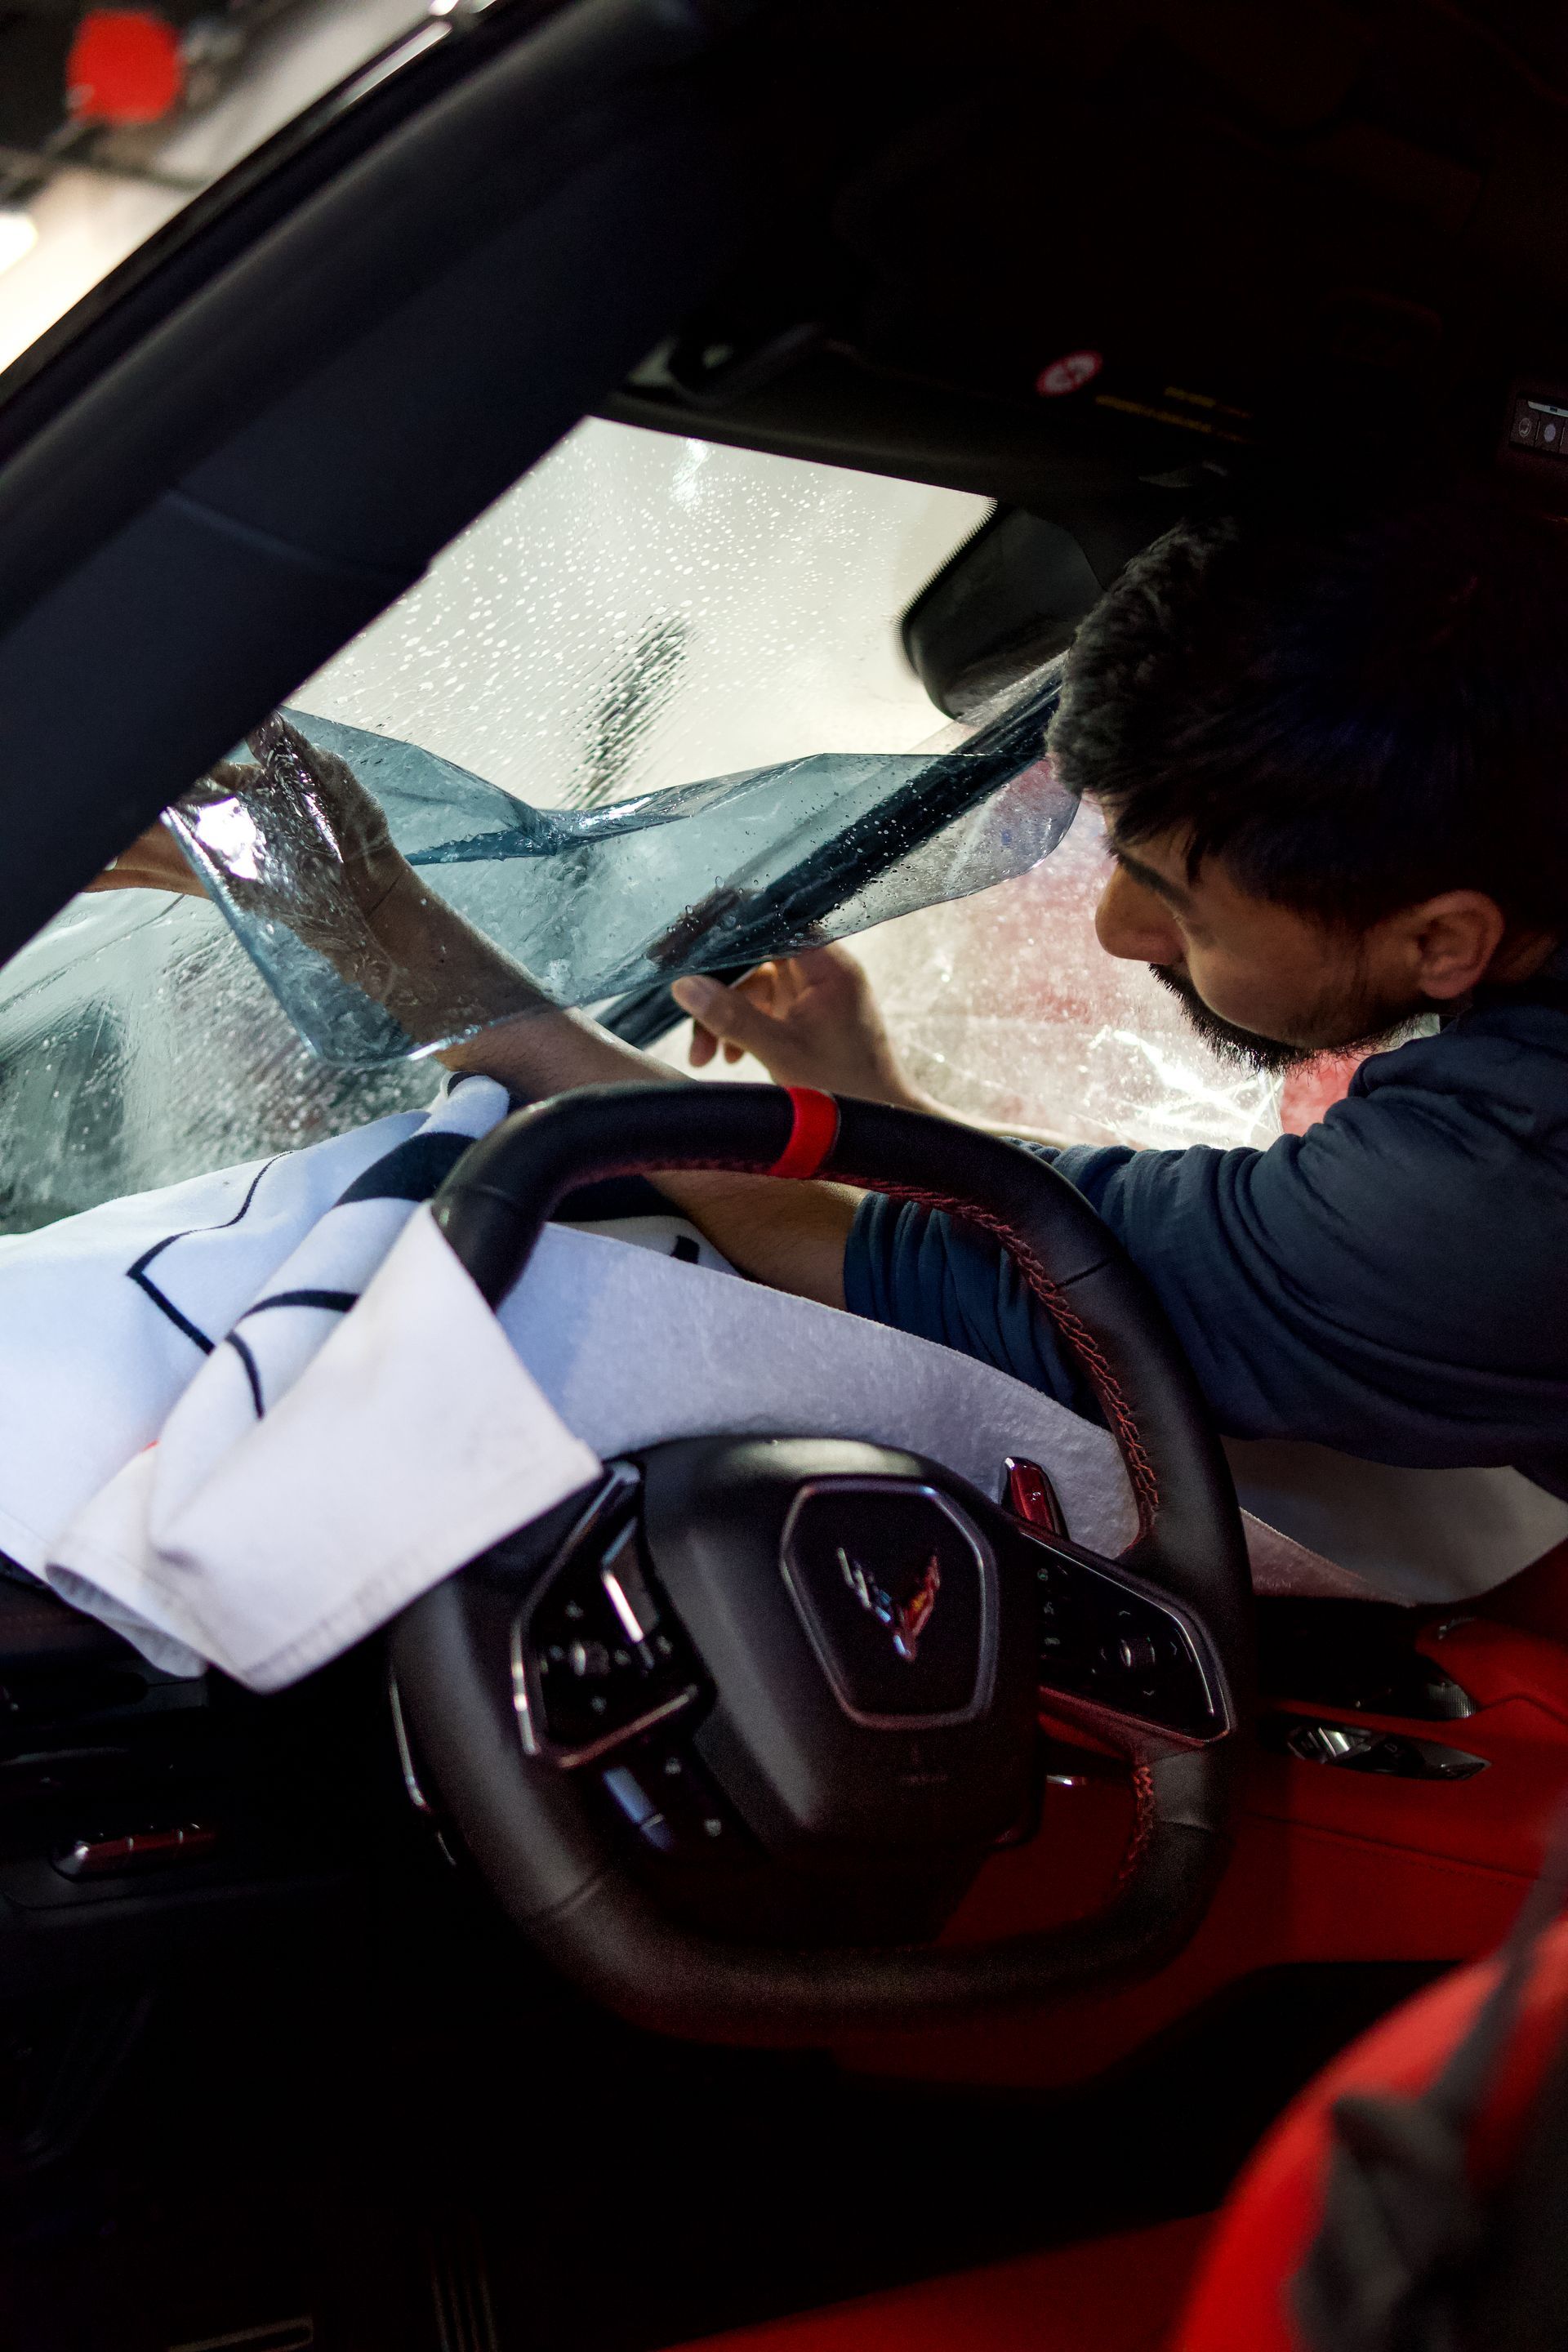
Getting that alignment right requires more than just a steady hand; it demands careful attention and the right setup. Professional installers often employ specific tools like slippy solutions—a combination of water and dish soap—to aid in repositioning the film without sacrificing adhesion. With a semi-wet surface, they can slide the film into place before it sticks, ensuring everything lines up perfectly along those curves and edges crucial for protecting every inch of your car.
The stakes are indeed higher when applying PPF compared to smaller projects; think about those tight contours around wheel arches or bumpers that require an expert's touch to ensure that no part is left unprotected.
It might be tempting for DIY enthusiasts to rush through the installation simply because they believe they can save time or money. However, rushing often results in errors like misalignment or even overstretching the film—both of which can dramatically reduce its lifespan.
Proper alignment isn’t just about aesthetics either; it’s about performance. The aligned protection ensures that each layer adheres firmly without air bubbles or creases that could eventually lead to peeling or lifting around the edges. That's why dedicated attention during initial placement is vital. As any professional will agree, checking alignment frequently while installing is essential—make adjustments as needed before the adhesive sets.
Remember that achieving a flawless paint protection film installation involves patience and meticulous care. Consider consulting the experts at Clear Pro. Our team is well trained in proper PPF alignment that will enhance your vehicle’s looks and protect it against nature's elements over time.
Neglecting to Clean and Prepare the Surface
Cleaning and preparing your car's exterior before applying PPF is not merely a formality; it's an essential step that significantly influences the film's adherence and longevity. Imagine painting a wall without washing it first—any dirt or debris left behind will compromise the finish, leading to an uneven texture or peeling paint. Similarly, if you neglect to rid your vehicle of contaminants, you're setting yourself up for bubbling, lifting, or premature wear of the protection film.
Cleaning Steps for Preparation
To achieve a flawless finish, start with an initial wash. This stage is critical because it eliminates surface dirt that could interfere with the film’s application. Using a high-quality car shampoo helps gently lift away grime without damaging the existing paint job. Rinse thoroughly with clean water, ensuring no soap residue remains; after all, we want our canvas ready for its new protective layer.
Once the basic cleaning is done, the next vital step involves deeper cleansing to remove embedded contaminants.
Enter decontamination—this isn’t just a fancy term; it’s an absolute necessity. A clay bar is an excellent tool for this process because it effectively pulls out impurities trapped in the paint’s surface that a simple wash might miss. When worked across the paint, the clay bar provides that silky smooth feel, ensuring that nothing nasty will be lurking beneath your new PPF.
After decontaminating, it’s time for the final touch to ensure maximum adhesion through a thorough wipedown.
For this last step, use a microfiber towel soaked in isopropyl alcohol to perform a final wipedown. The alcohol serves two purposes: it removes any remaining oils or waxes from prior detailing work while preparing your vehicle surface for optimal adhesion of the PPF. Remember that residue from any previous protective products can create barriers preventing proper installation, essentially undermining your efforts thus far.
Car detailing professionals indicate that properly cleaned and prepped surfaces cut installation defects by as much as 50%. Think about saving time and money!
Taking these steps seriously not only simplifies PPF installation but contributes to long-term performance as well. When you prepare a clean surface for application, you create a foundation for success, ensuring that bubbles and wrinkles become distant nightmares rather than current realities.
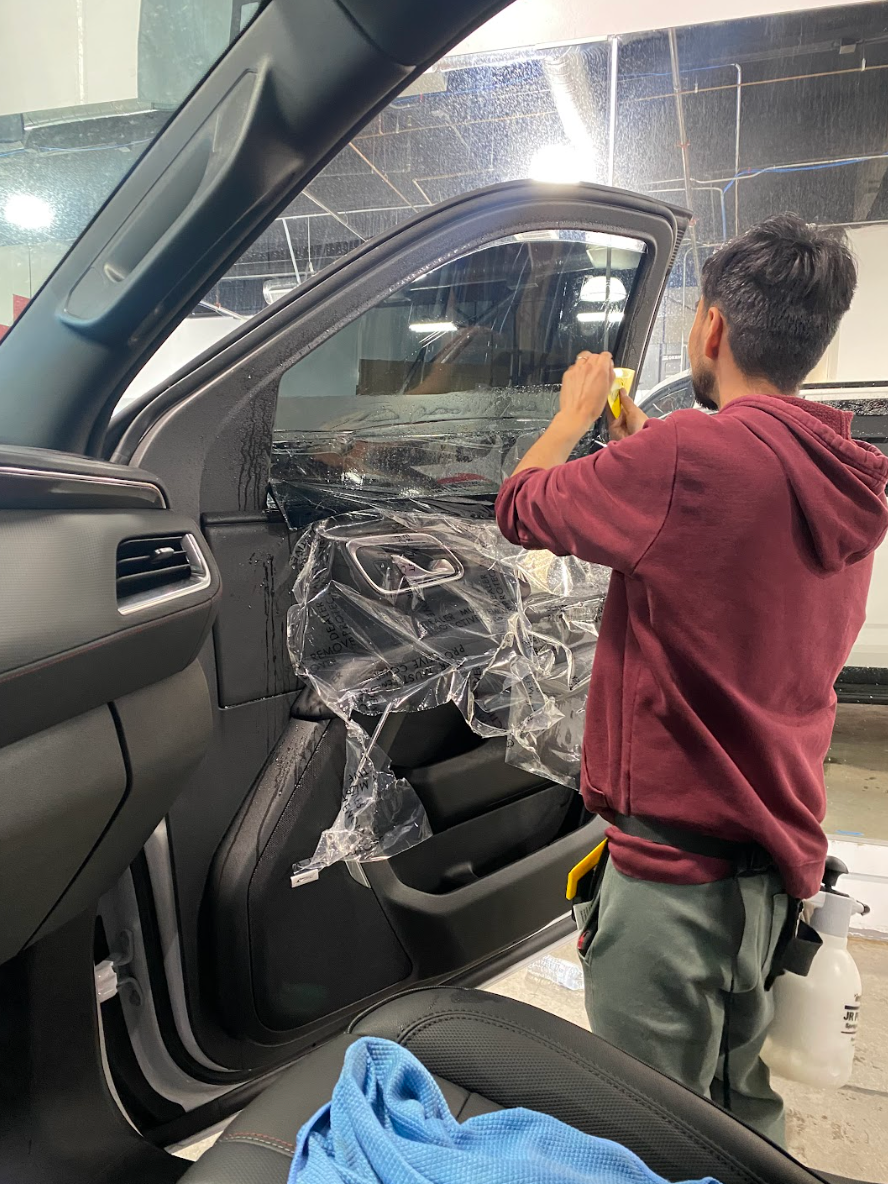
Creating Bubbles and Wrinkles During Application
The unfortunate reality is that these unsightly imperfections can compromise both the appearance and effectiveness of your PPF. Bubbles occur when air is trapped between the film and the vehicle’s surface, while wrinkles can happen if the film stretches unevenly. Both issues can lead to long-term adhesion problems, making it vital to address them early on.
To avoid getting caught in this sticky situation, it's important to approach installation with care and the right techniques. Consider the process as a test of patience, as haste can frequently result in costly errors.
Techniques to Avoid Bubbles and Wrinkles
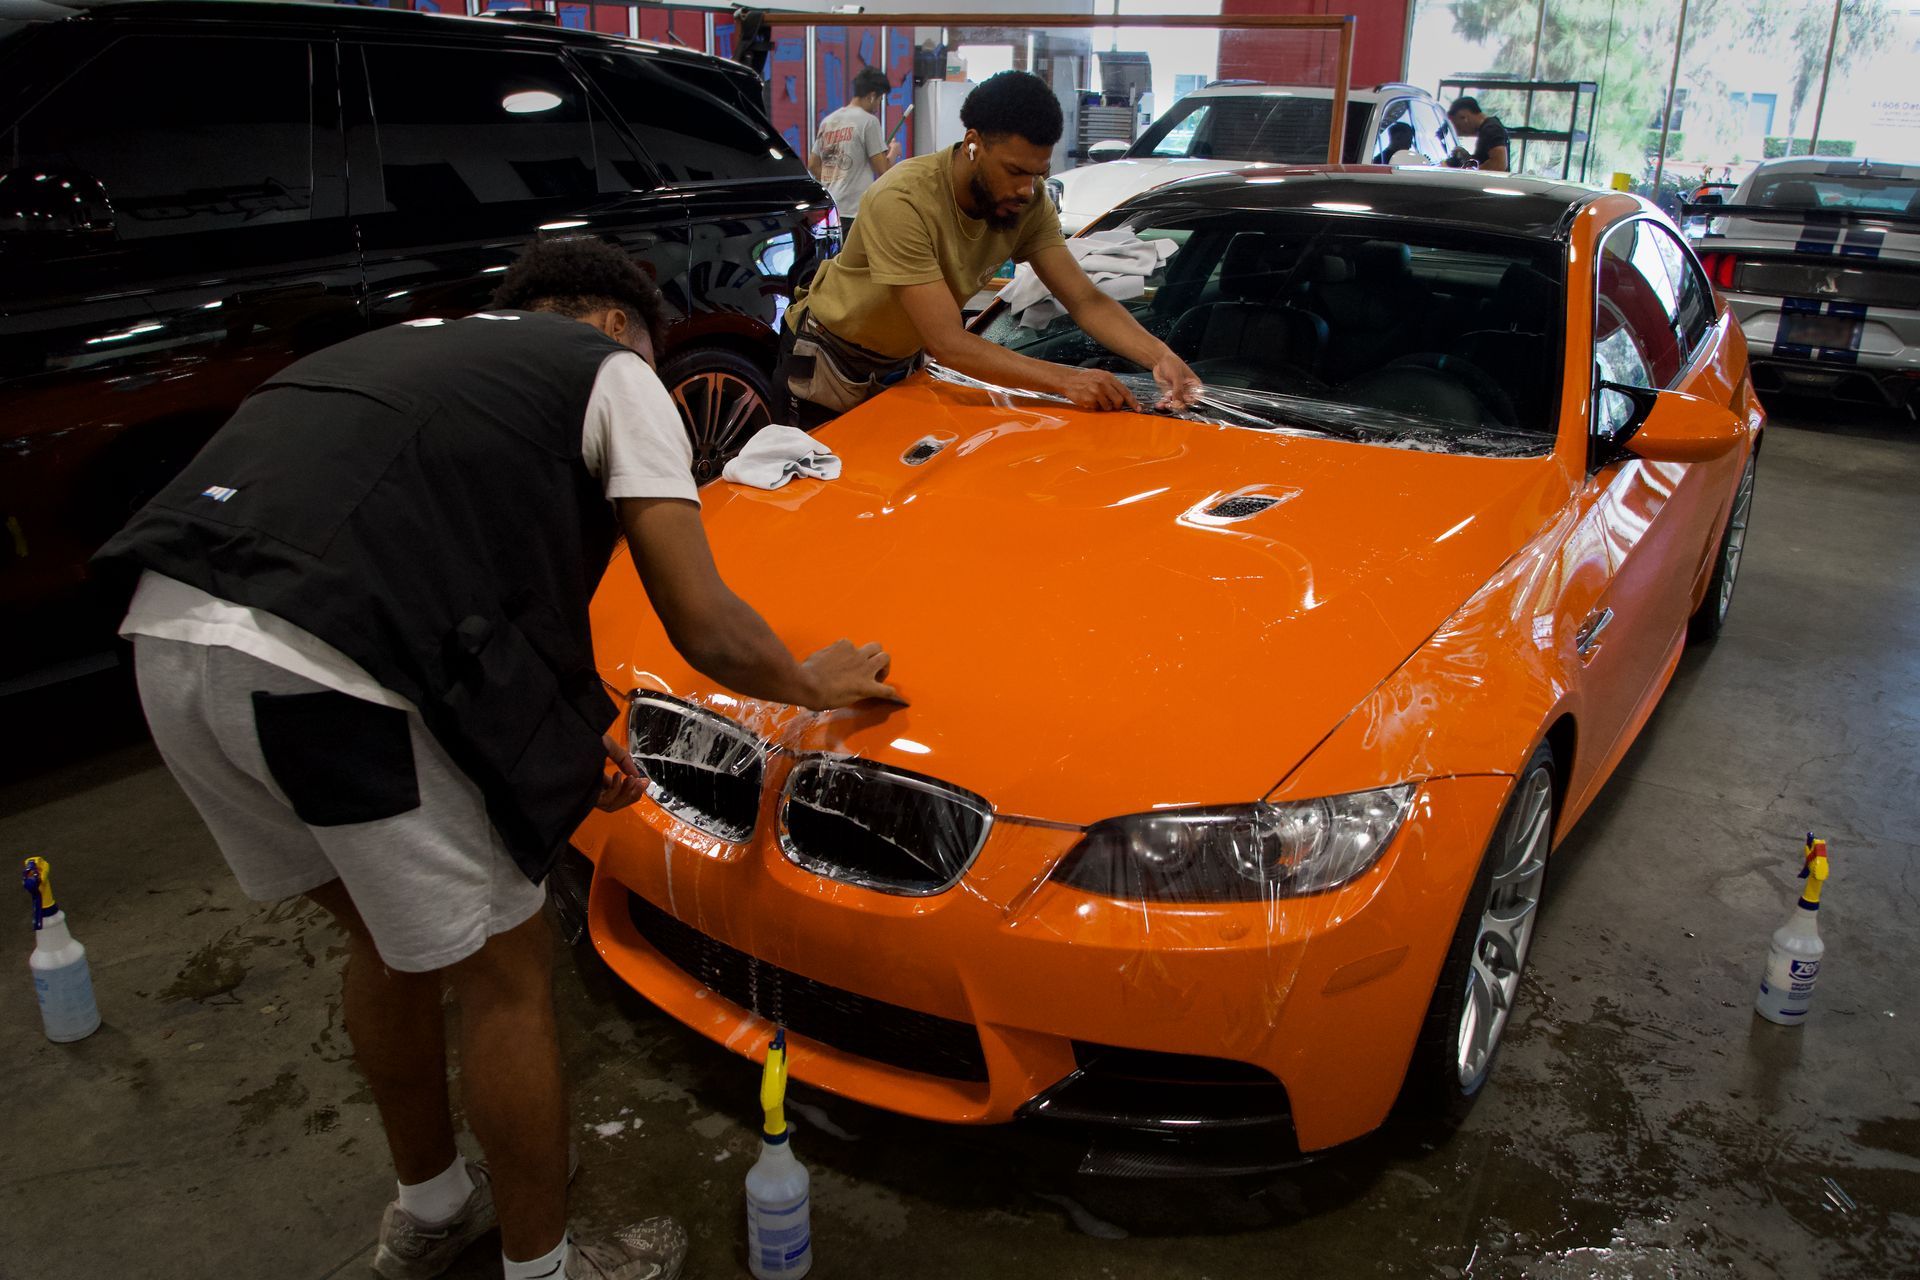
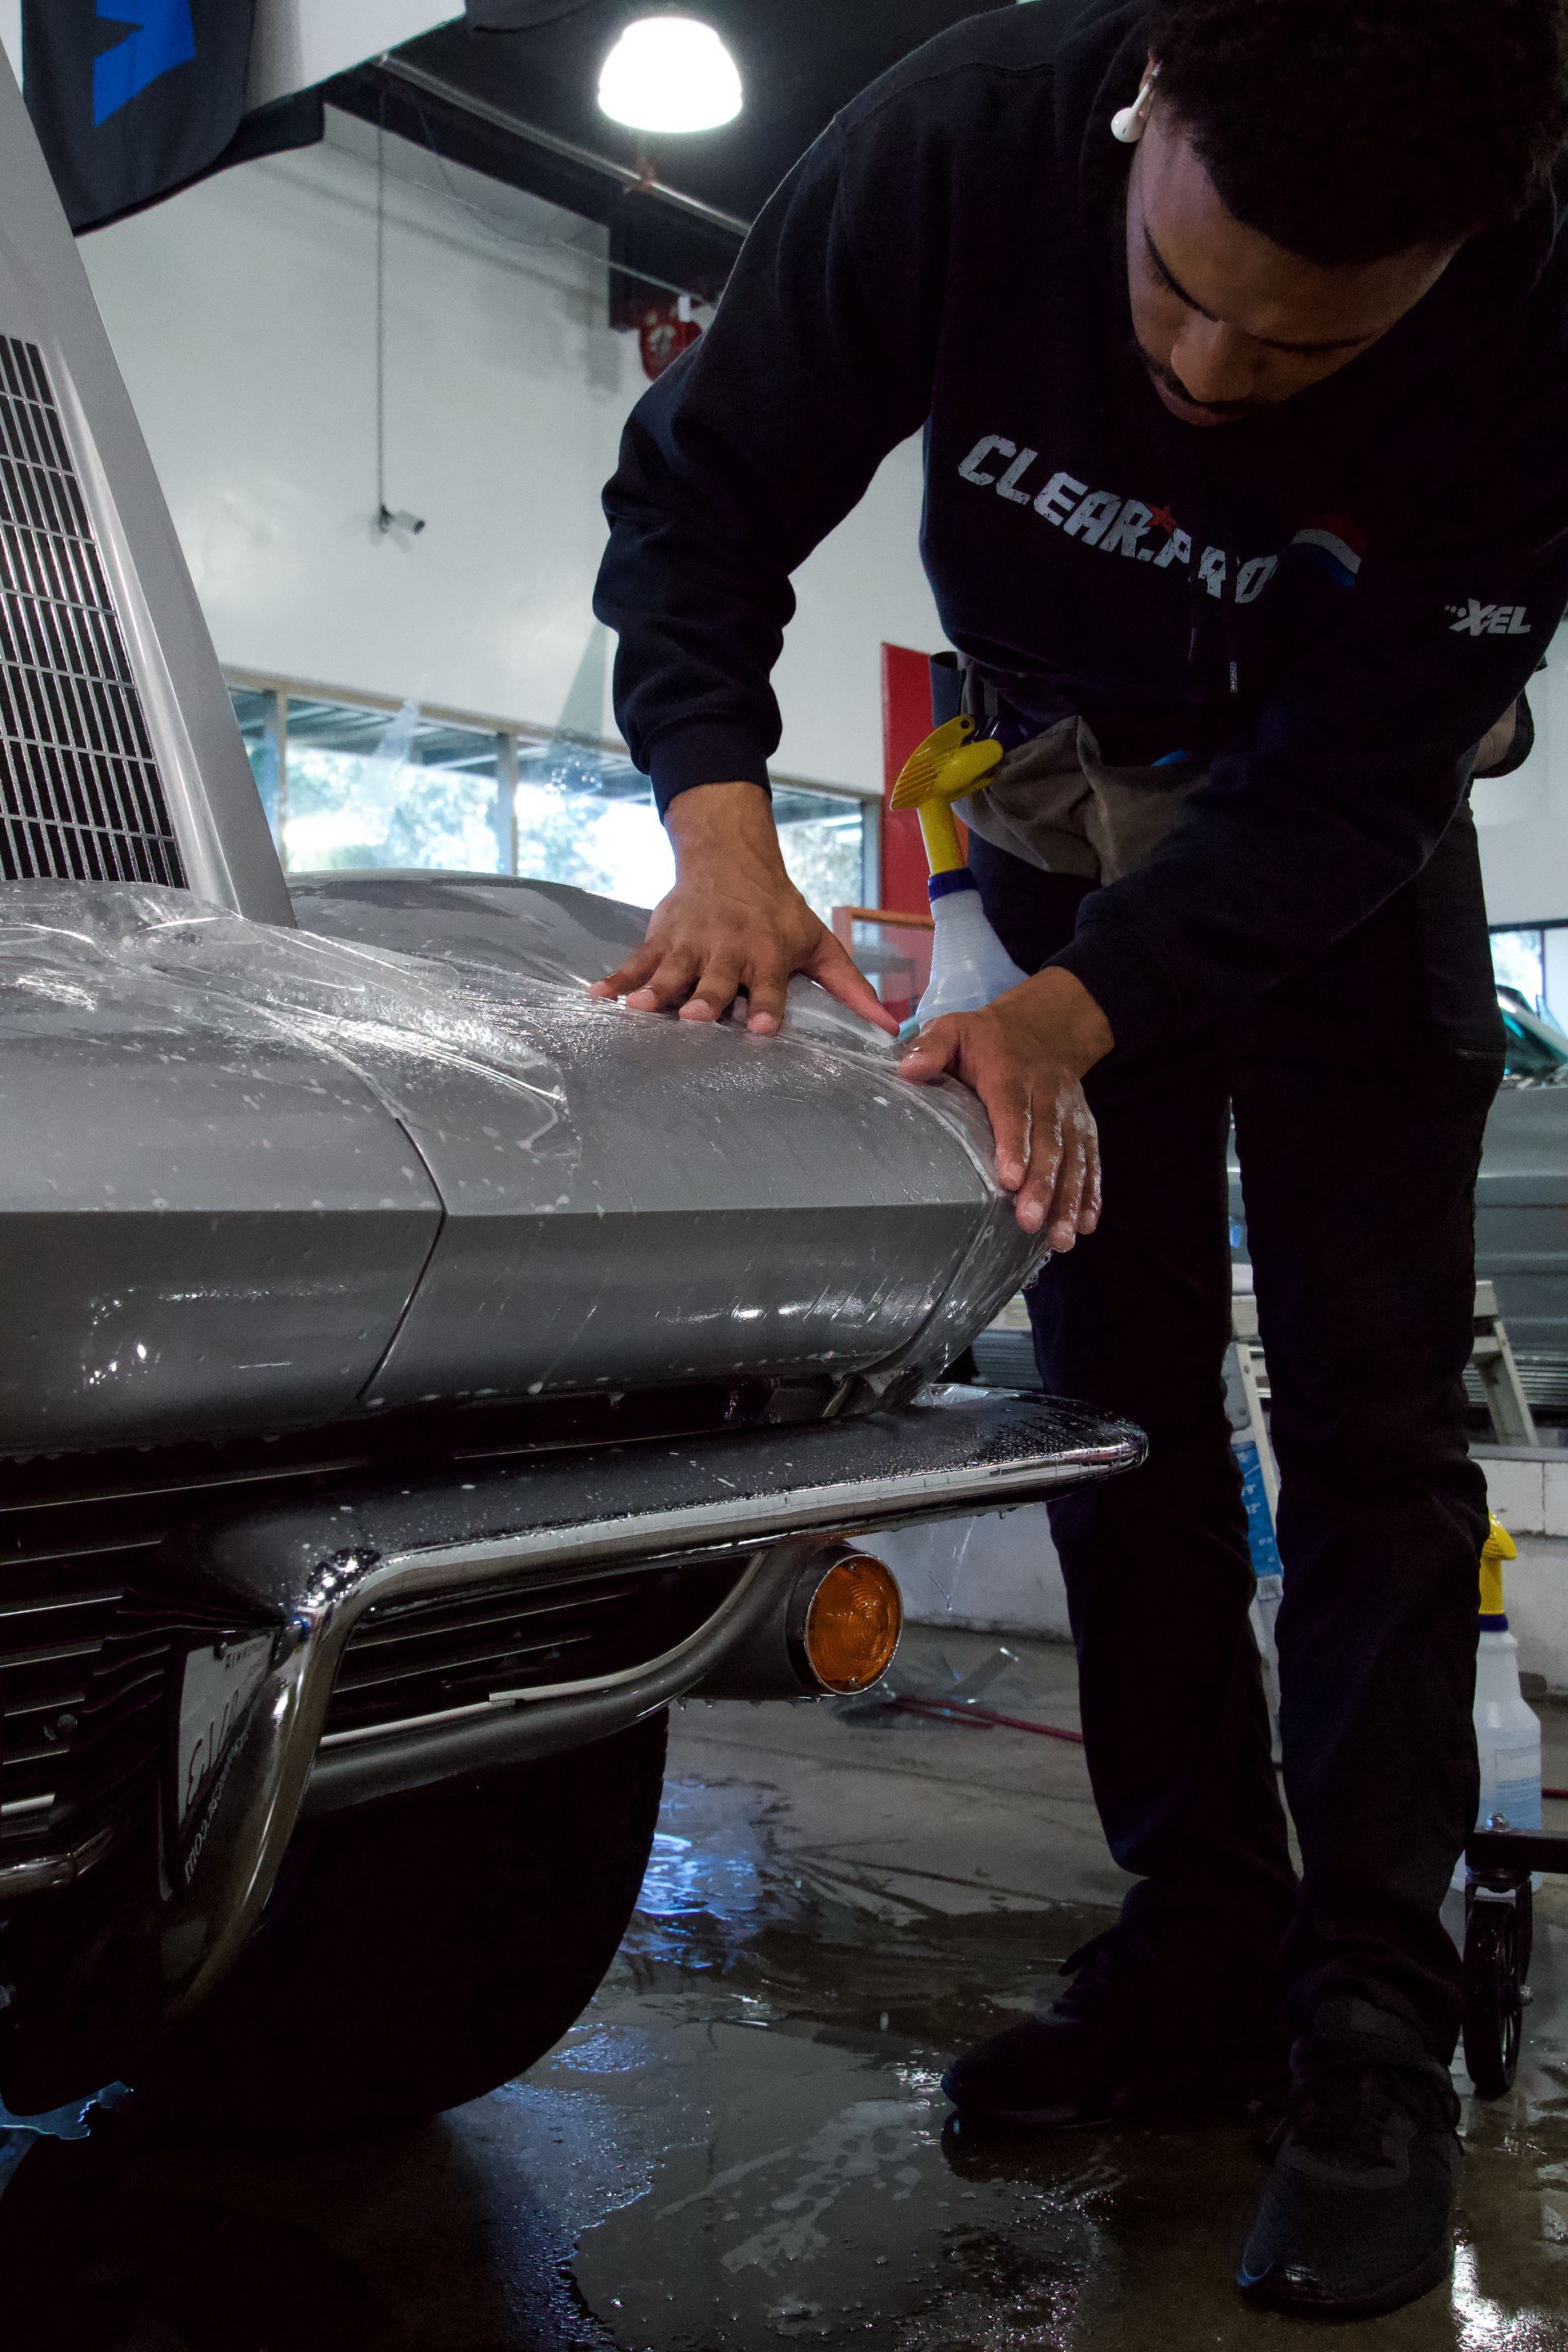
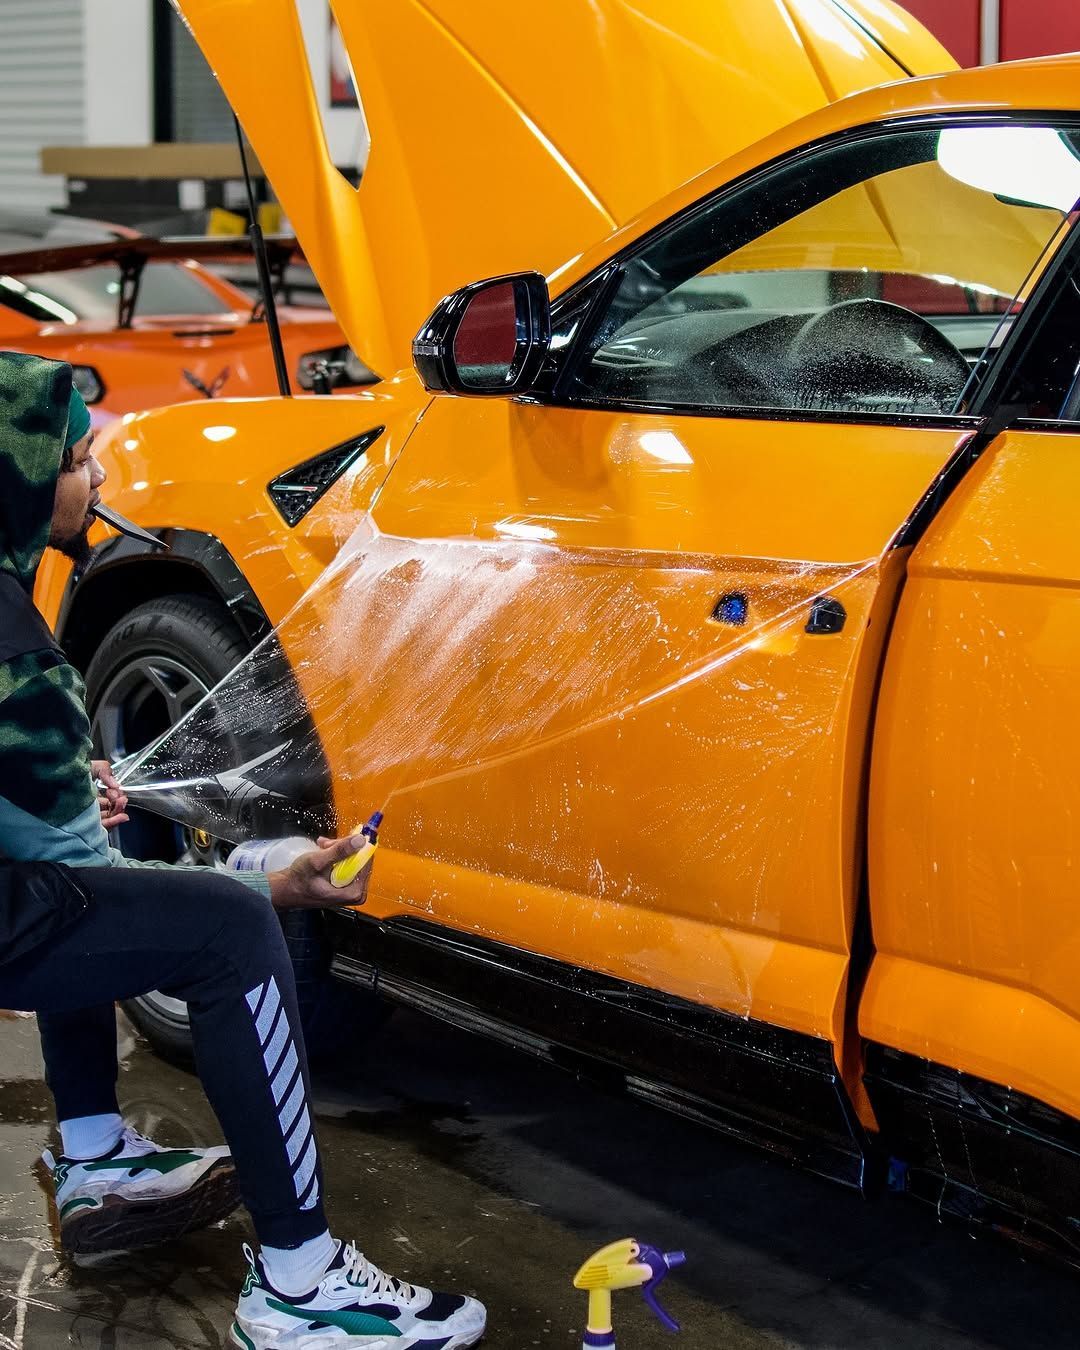
One key technique is to use a high-quality squeegee. This tool is essential for pressing out air bubbles effectively and should be used from the center of the panel outward toward the edges. By doing so, you ensure that any air gets pushed out instead of trapped, which helps create a smooth finish. Imagine applying wallpaper; if you don’t work from the center outwards, air pockets will form behind it. The installation of PPF follows the same idea.
Additionally, before laying down the film, prepare your workspace by generously spraying both the adhesive side of the PPF and the vehicle’s surface with a slip solution—a mixture of water and a few drops of mild soap works well. This lubrication allows for easier repositioning without risking sharp creases or bubbles forming right away. The film should slide smoothly into place, mimicking how glideable papers move across surfaces while being applied.
After applying the film, take the time to gently work through any remaining imperfections using your squeegee. Start from one corner and gradually smooth out towards the other edges—this methodical, slow, and steady approach is crucial for ensuring the film's longevity.
Once you've managed to avoid those troublesome bubbles and wrinkles, remember that flattening the film is just part of a larger procedure; properly trimming and securing its edges are equally crucial for optimal protection.
Incorrectly Trimming and Securing Edges
The edges of the PPF are where many installation mistakes occur, usually because of careless trimming or insufficient securing techniques. When it comes to trimming the film, precision is key. It’s not just about cutting the film; it’s about cutting it in such a way that matches the intricate curves of the vehicle's bodywork. A small error in judgment can lead to edges that peel over time or, worse, expose areas that should be protected.
Precision in Trimming
To achieve great results, start with high-quality cutting tools—a sharp utility knife will serve you well. Take your time while cutting; a steady hand ensures that the film hugs every contour of your car beautifully. Remember, there’s no rush in this step. Leaving a little excess material around the edges can save you headaches later on. Excessive trimming often ends up removing too much film and leaves parts unprotected, allowing chips to thrive just beneath the surface.
Securing the Edges
Once you’ve cut the film, it's time to secure those edges properly. A common mistake is thinking that simply pressing down will suffice; to ensure lasting adhesion, heat application becomes your ally. Carefully use a heat gun—set on low—to soften the film at the edges before securing them down. As the film warms up, it becomes more pliable and easier to stretch around corners without risking peeling.
- Heat Application: Soften the edges of the film with a heat gun for better flexibility.
- Edge Sealer: After securing the edges, applying an edge sealer is vital for long-term durability. This creates an extra barrier against dirt accumulation and helps keep your PPF firmly attached.
With proper trimming and securing techniques in place, you can greatly improve both the aesthetic appeal and functional longevity of your paint protection film. Knowing how to choose superior materials next will further ensure that your investment pays off over time.
Choosing Quality Paint Protection Film
Applying Paint Protection Film (PPF) may seem straightforward, but many car owners make critical errors that impact the film's effectiveness and longevity. Understanding these common mistakes can help you avoid costly setbacks.
Common Installation Mistakes
- Covering Just Some Parts: Many mistakenly believe covering only select areas is sufficient. Comprehensive coverage is essential for effective protection.
- Choosing Poor Quality PPF: While budget-friendly options are tempting, lower-quality films deteriorate quickly, leading to bubbling and fading within a couple of years.
- Not Preparing Vehicle Surface: Similar to painting, proper surface preparation is vital. The film's lifespan and look may be harmed if dirt is trapped beneath it.
- Being Impatient: Rushing the installation process leads to trapped dust and poor adhesion. Quality application can take several hours or even a full day for larger vehicles.
- Improper Alignment: Misalignment leads to streaks and bubbles, reducing both efficacy and lifespan.
- Stretching PPF Correctly: DIY attempts often result in improper stretching techniques that affect quality. Each panel requires specific adjustments best handled by professionals.
Opting for professional installation at reputable detailing centers ensures better results with your PPF applications. Expert knowledge helps reduce the risk of these common mistakes, ultimately saving you time and money.
DIY Installation vs. Professional Expertise
One major allure of installing paint protection film (PPF) yourself is the potential for cost savings. A DIY project can seem inviting when you realize you'll dodge labor charges depending on your vehicle's size and the quality of the film you choose. However, this path can quickly lead to mistakes and additional costs if something goes awry during installation.
The flexibility of DIY installation appeals to many car owners. You have the liberty to work on your own schedule, allowing you to take breaks when needed and adapt your process without feeling rushed. This can feel empowering; however, it may pose risks, as getting proper adhesion or alignment can demand patience and experience.
Professionals in PPF installation bring a wealth of experience and specialized tools that DIY enthusiasts often lack. The techniques they use ensure that the PPF is applied smoothly, without any unsightly bubbles or misalignments that can occur during a hasty personal attempt. When car owners employ trained technicians, they significantly increase the likelihood that their investment—your vehicle’s appearance and resale value—will be protected effectively over time. Contact Clear Pro at (951) 376-2427 to request a quote today!